
Your first App Store screenshot, for indie developers
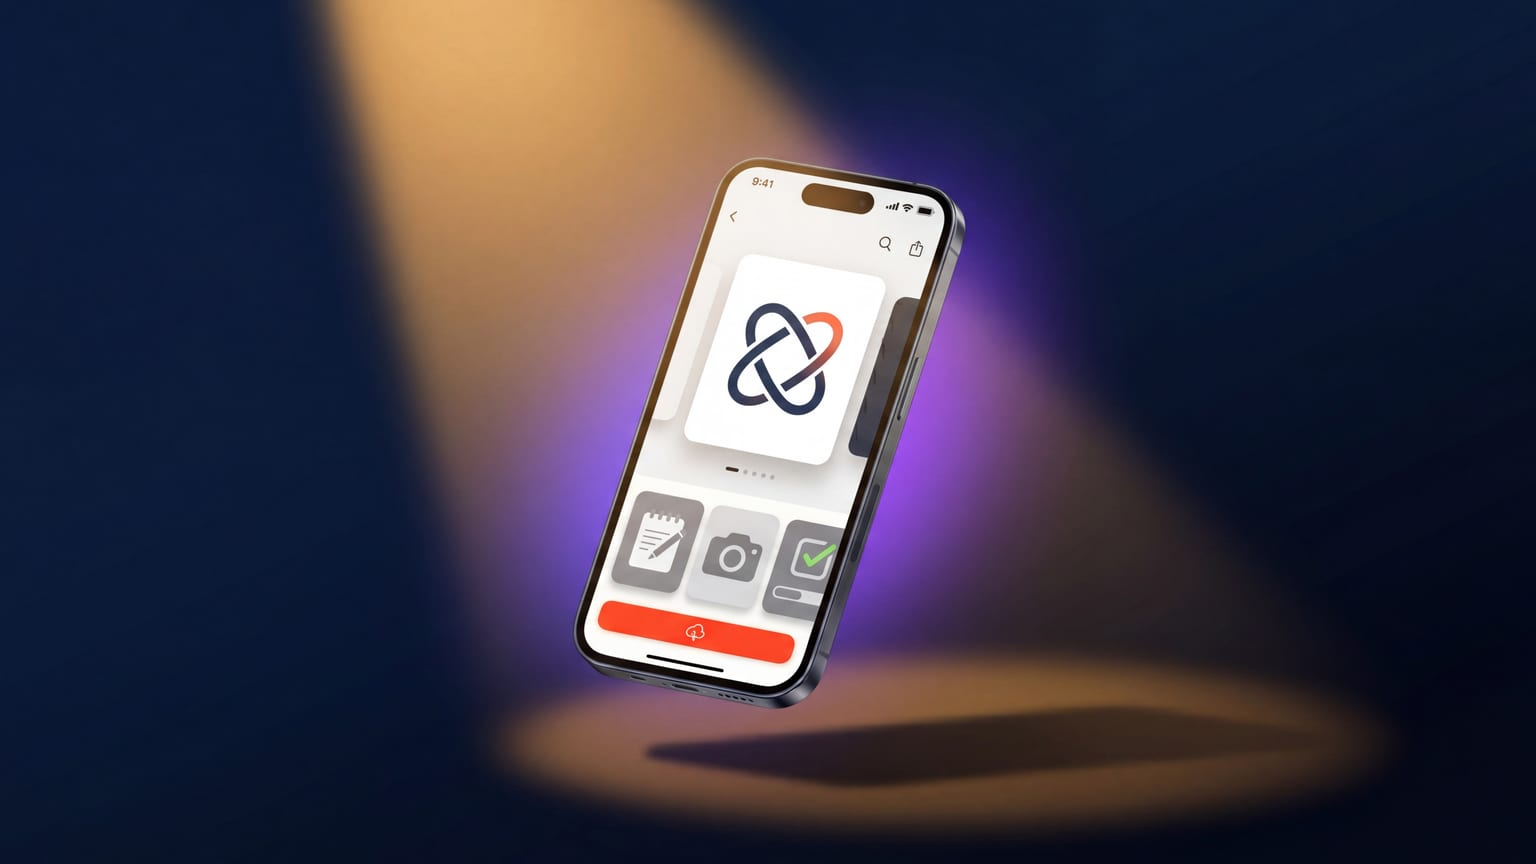
First-time submitters get lost in the screenshot guides written for established apps. The recommendations for top-100 apps don't apply when you're shipping for the first time and just need something that won't get rejected. Here's the minimum-viable path, in order.
What you actually need to ship
Apple requires the following for a 2026 first submission:
- At least one iPhone screenshot set at 6.9" dimensions (1320 × 2868). Apple auto-scales to all smaller iPhone classes. You can supply native sizes for 6.7", 6.5", 6.1", but it's optional.
- At least one iPad screenshot set at 13" (2064 × 2752) — ONLY if your app supports iPad. If iPhone-only, skip.
- 3-10 panels per set. Three is enough; ten is the cap. Most apps ship 5.
- Per locale. If you ship in multiple App Store languages, each gets its own set. Apple falls back to your default locale for any missing language.
That's the entire required set. Watch, Mac, Apple TV are only required if your app ships on those platforms.
30-minute path
- Take 3-5 real screenshots from your app. Use a 6.9" iPhone or simulator. The easiest way: in iOS Simulator, run your app, use Cmd+S to save a screenshot per state. Pick the 3-5 screens that best represent your app's main value.
- Decide on a caption per panel. One line, 5-8 words. Verb-first. "Track your spending in real time" not "Spending tracking made easy". Each caption should describe what the screen shows, not generic brand language.
- Pick a background style. The simplest path that works: solid color, slight gradient, or a soft pattern. Don't try to design a hero image; the screenshot itself is the hero. Pick one background style and use it consistently across all panels.
- Wrap each screenshot in a device frame. An iPhone-shaped frame around each screenshot, either dead-on or lightly tilted — pick one and keep it identical across the set — sitting in the lower half of the panel. Caption at the top.
- Export at 1320 × 2868. PNG-24, sRGB. That's the 6.9" iPhone class. Upload this set to App Store Connect.
What to skip on a first submission
- Custom illustrations or characters. Hire that work for a v2. Real screenshots wrapped in clean frames convert fine on a first launch.
- Localized screenshots. Ship default locale only on day 1. Add locale sets when you see paid-install traffic from non-English markets in App Store Connect Analytics.
- App preview video. Useful, but expensive in time and you can ship without one. Add later.
- Apple Watch / Mac screenshots. Only if you ship on those platforms.
- Per-class screenshot sets (6.7", 6.5", 6.1"). Apple's auto-scaling is good enough for v1. Supply native sizes when you have install volume and want pixel-quality across classes.
The mistakes that get first-submission screenshots rejected
From the rejection reference, the ones that hit first-time submitters most often:
- Status bar shows wrong time across panels. Use 9:41 across all of them.
- A panel is pure marketing graphic with no app UI visible. Every panel needs the actual app in it.
- Pricing or "free for a week!" claims in the screenshot. Strip them.
- Third-party logos (Spotify, Apple's own brand marks). Replace with placeholders.
What "good enough" looks like
For a v1, "good enough" means: every panel is legible at thumbnail size, captions read in one glance, the device frame is consistent across panels, and the carousel reads as one product (consistent palette, consistent style). It does not need to look like Calm or Notion's screenshots. Those teams have design departments and 18 months of iteration. You have an afternoon.
What to iterate on after launch
After your first install data lands (give it 2-4 weeks), the priority list:
- Test panel 1 caption. The variable with the biggest impact.
- If iPad install volume is meaningful, design iPad-specific screenshots (see iPad strategy).
- Localize for your top 5 install-volume locales.
- Add panel order experiments via Product Page Experiments.
Don't iterate on everything at once. The goal of a first submission is to get shipped, gather data, then optimize.